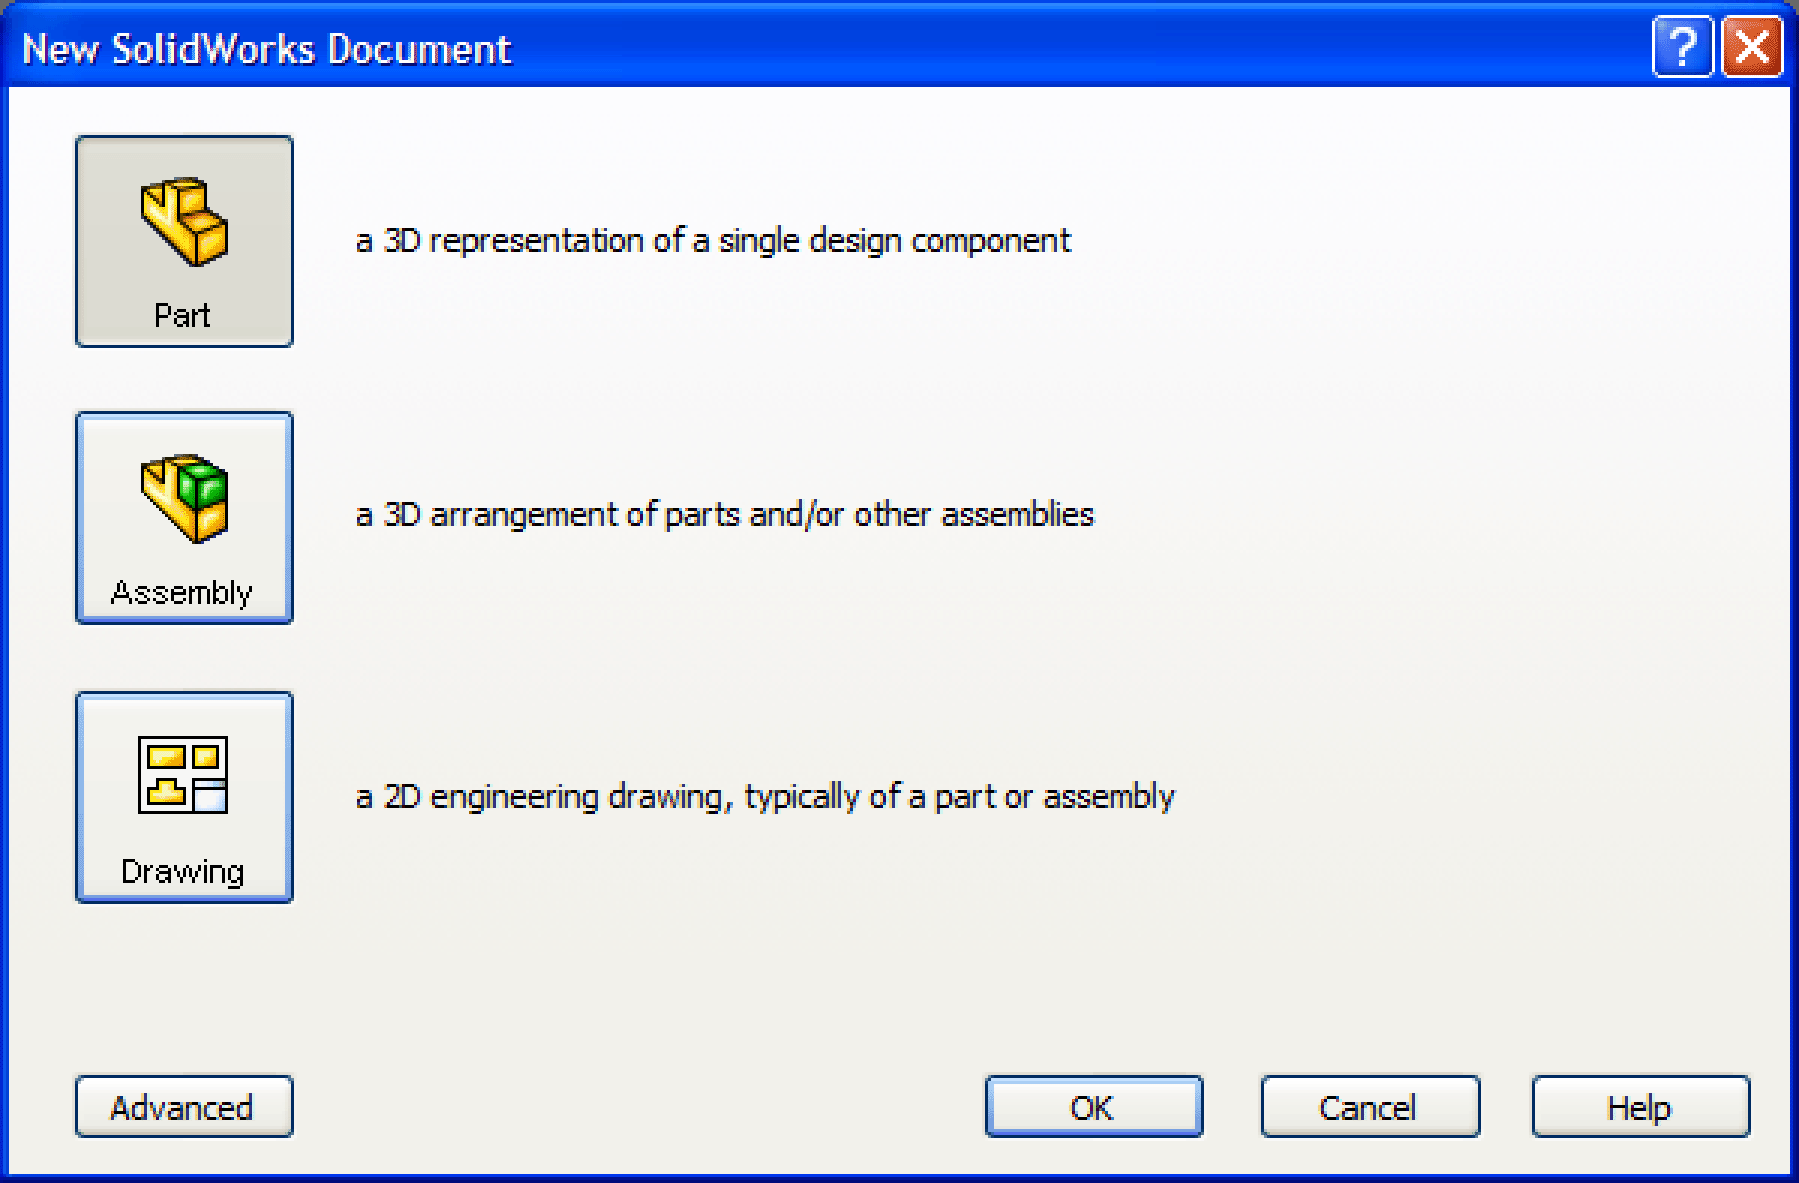
1. Using the computers in Hicks 213, click the Start button on the Windows taskbar and choose Programs |
|
2. Click File |
|
3. Select the Part icon under the Templates tab and click OK. |
 |
Creating a part using SolidWorks.
Thanks go to Simeon Realov who wrote the bulk of this tutorial.
Start a new SolidWorks session:
1. Using the computers in Hicks 213, click the Start button on the Windows taskbar and choose Programs |
|
2. Click File |
|
3. Select the Part icon under the Templates tab and click OK. |
 |
Insert a Sketch for the Extrude-Base feature:
4. Click Sketch
from the Sketch toolbar to open a new sketch. The Front plane is the default Sketch plane.
5. Click Rectangle
from the Sketch Tools toolbar and draw a rectangle anywhere inside the Graphics window (do not worry about any specific dimensions).
6. Click Smart Dimension
from the Sketch toolbar and select the top or bottom side of the rectangle.
7. Position the resulting dimensioning box at a convenient location.
8. Double-click the box and in the resulting Modify widow set the width of the rectangle to be 15 mm. Then click the green check mark (OK).
9. Similarly, dimension the height of the rectangle to be 100 mm.
10. Click Tools
Sketch Tools
Trim
from the menu and select "Trim to Nearest" from the bottom of the list.
Trim off the top and bottom sides of the rectangle by clicking on them (the line to be trimmed turns red when the mouse pointer is position over it).
11. Click 3 Pt Arc
from the Sketch Tools toolbar.
12. Position the mouse pointer over the top endpoint of the right parallel line. When the pointer is positioned perfectly over the point, it changes to
.
13. Select the point, and then similarly select the corresponding point to its left.
14. Drag the mouse up or down until the resulting arc is a semi-circle, which is signified by the pointer changing to
.
15. Click to make the arc and then repeat for the bottom part of the sketch.
16. When done, click on
to save and close the sketch.
17. A sketch named Sketch1 appears in the Features Manager on the left.
18. Click once on the name of the sketch and change it to Bar.
19. Click File
Save and save the current part as Bar.SLDPRT in your working directory.
Extrude the sketch to create the first feature:
20. Select the Bar sketch from the Features Manager. |
|
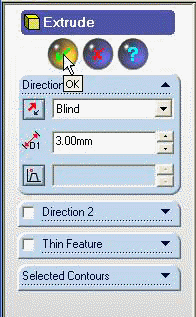
21. Click Extruded Boss/Base
|
|
22. Change the distance in Direction 1 to 3 mm. |
|
23. Click OK to create the feature. |
 |
24. Click Save |
|
Create a sketch for the Extruded Cut:
25. Click the Front view
on the Standard Views toolbar.
26. Select the front face of the feature by clicking on it. The pointer changes to
when you are about to select a face and the face becomes green when it has been selected.
27. Open a new sketch on the front face of the bar by clicking Sketch
while the front face is selected.
28. Click Circle
from the Sketch Tools toolbar and draw a circle near the bottom end of the bar.
29. Click Dimension
on the Sketch Toolbar and select the circle just drawn.
30. Modify the diameter to 3.5 mm.
31. Click Select
above the Sketch toolbar and then hold down Ctrl in order to select multiple objects. Select the circle and the bottom arc of the bar.
32. The Properties Dialogue box appears to the left. Make sure that only an Arc and an Edge appear as the Selected Entities. Remove any other items from this box that might have been selected by mistake by clicking on them and pressing the Delete key.
33. Select the concentric relation by clicking Concentric under the Add Relations tab and click OK.
34. Click Circle
on the Sketch Tools toolbar and draw a new circle with a diameter of 9.5 mm
35. Dimension the distance between the two circles to be 12.5 mm by clicking Dimension
and then selecting the two circles in consecutive order.
36. Similarly, draw a new circle directly above the second one with a diameter of 3.5 mm. Dimension this circle to be at a distance of 12.5 mm from the larger one.
37. Select the centers of the three circles and add a vertical relation between them. All three circles should now be black in color instead of blue. The black color shows that all three circles a fully defined.
38. Finally, draw a fourth circle near the top edge of the bar. Dimension the diameter of the circle to be 5 mm and add a concentric relation between the circle and the arc representing the top edge of the bar. Do not specify a dimensioned distance, because that would overconstrain the position of the circle (being concentric with the arc is sufficient).
39. When finished, all circles should be black. Close the sketch and save the part.
40. Rename the sketch to your username and save it.
41. Click Extruded Cut
from the Features Toolbar.
42. In the dialogue window that appears to the left, under Direction 1, select Through All.
43. Click Isometric
in the Standard Views Toolbar and look at the preview of the Extruded Cut. Make sure that the direction of the cut is set so that it will go through the bar (change the direction if necessary by pressing
). When ready, click the green OK check to make the cut.
44. Use the Rotate View
tool from the View toolbar to rotate the part and verify it is complete. When finished, save the part.
Click here to see part rotating.